

>>How To Video<<
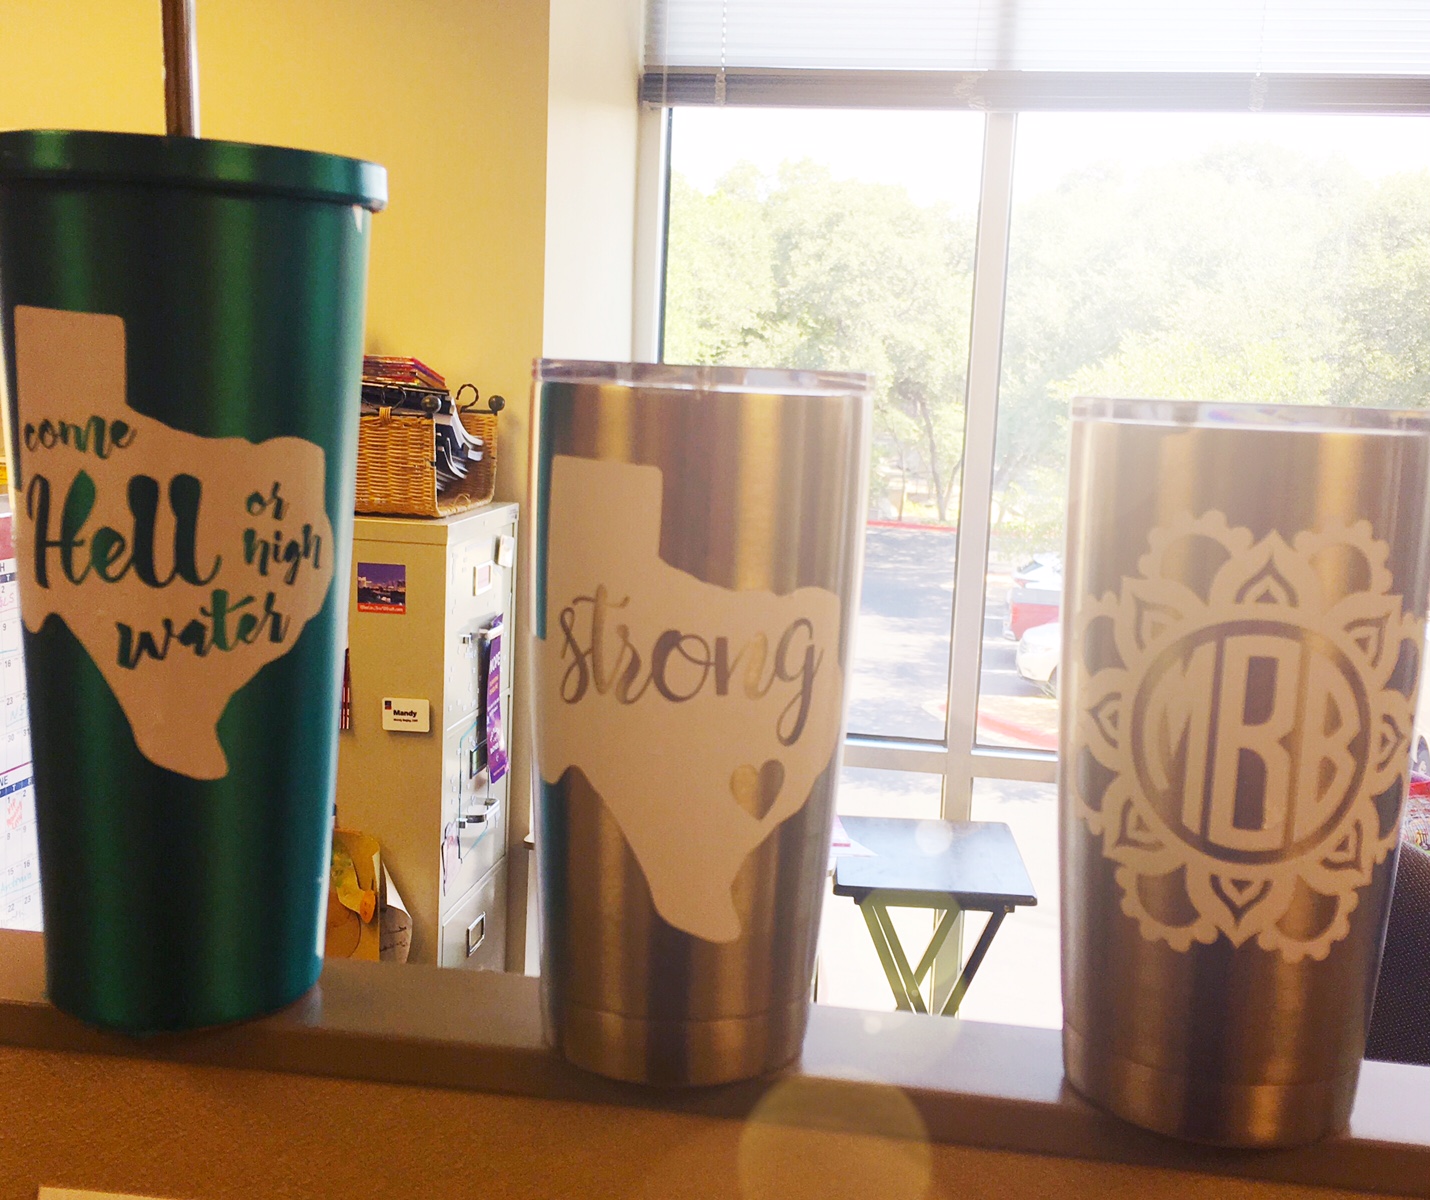
These are the three vinyl decals I made in response to Harvey in Texas.
Everyone wants to do their part to help those families devastated by #Harvey. I am making/selling these 4x4 vinyl stickers for a suggested $10.00 donation with 100% of the proceeds going towards creating a Welcome Kit for people evacuating to Austin for shelter.
Everyone wants to do their part to help those families devastated by #Harvey. I am making/selling these 4x4 vinyl stickers for a suggested $10.00 donation with 100% of the proceeds going towards creating a Welcome Kit for people evacuating to Austin for shelter.

"Texas Strong" is not only a theme, it is a way of life here.
This was by far the most popular design I made this week.
This was by far the most popular design I made this week.


Thank you to everyone who purchased a decal and made a donation. I really enjoyed creating these and love that together we will make an impact on someone who lost everything. God Bless Texas!
Here is how to get the sticker on to your surface:
Rule #1: Go slow
- The vinyl will adhere much better when you apply it to a clean surface. Rubbing alcohol is a great cleaning agent on items like a Yeti cup or rear view window.
Rule #1: Go slow
- Peel the back away from the transfer tape (paper with red grid lines) and apply the tape to the top of the vinyl decal.
- Next, peel the transfer tape back again at a slow 45-degree angle. The vinyl should stick to the transfer tape on top. If the vinyl sticks to the backing, simply burnish/rub the transfer tape back down on the vinyl again and then continue to peel the vinyl away from the liner. The little tiny pieces can be stubborn.
- Carefully place the transfer tape with vinyl image on your surface (tumbler, yeti, bumper, etc), making sure the images are straight.
- Start in the center and move out toward the ends slowly. A credit card is a great tool to help burnish the vinyl onto the surface.
- Peel the transfer tape away from the vinyl at a 45-degree angle. If the vinyl sticks to the transfer tape, simply burnish the vinyl onto the surface again. The transfer tape is also reusable.
- Use your fingers to smooth out any bubbles.
good info
ReplyDeleteThanks for sharing with us ,how to apply a vinyl stickers
ReplyDelete