Monday, November 30, 2009

Better Sandwich Bread

I sometimes get asked to review products on my blog, this is not one of those times. I actually was looking for a carb alternative to sandwich meat and cheese between when I stumbled upon this THIN multi-grain bread.


I love them, so I felt compelled to tell you about this new find. These are Arnold’s, also called Oroweat and there is also Pepperidge Farms sandwich slices. Finally for carb conscious people you can enjoy bread on both sides of your burger or sandwich instead of enjoying your sandwich open face. The whole “set”, top and bottom are only 100 calories, 1 WW, 1 gram of fat, zero cholesterol, 230 milligram of sodium, 22 grams of carbohydrates, 5 grams of dietary fiber, 2 gram of sugar and 4 grams of protein.

I like that they are pre-sliced, and it should be obvious however that given the “lightness” in the caloric department, don’t expect the bread to be thick and hearty. They are thin, just enough to give your ingredients a good coverage and that is it.

Use in place of burger buns, and lunchtime sandwiches. I've also used these thins for great homemade breakfast sandwiches...turkey bacon, egg and a little cheese. I can get all that in under 250 calories! This would make a great leftover thanksgiving turkey sandwich..with a little smear of leftover cranberry sauce.

Saturday, November 28, 2009

Winner

I love this picture of Madeline who is literally laughing as she rides in the front seat of our mustang convertible with the top down. What a cutie-pie!


To enter the contest yesterday I asked for some advice on getting older and you guys had some great answers. Laughing every day, probably keep us younger! Looking back and seeing how far we've come in life, and the suggestion to just never celebrate 30, celebrate the first anniversary of my 29th birthday. Ha! Love them all!


Thanks to everyone who entered my contest yesterday. Using random.org's integer generator, the lucky winner of a one year subscription to Real Simple Magazine is....

Comment number 2. Congrats Leslie. E-mail me at homewithmandy@gmail.com. And if you haven't checked out Leslie's blog, you should visit her at The Hungry Housewife.

What I love most about Real Simple (besides the recipes) is the fact that they literally read my mind and publish articles concerning my current issue. For instance, Jim and I talk about the need to clean out the garage, and the next issue I pick up has an entire step by step article on cleaning out the garage. I need a new pair of black slacks, and there they go reading my mind again and publish an article on the best black slacks for all body shapes. I love this magazine and know you will too Leslie! Please shoot me an e-mail to claim your prize!

Friday, November 27, 2009

Happy Birthday to Me

Today I'm saying goodbye to my 20's and moving into the next 30 years of my life. I love this song by Tim McGraw...

I think I’ll take a moment, celebrate my age
The ending of an era and the turning of a page
Now it’s time to focus in on where I go from here
Lord have mercy on my next thirty years

Hey my next thirty years I’m gonna have some fun
Try to forget about all the crazy things I’ve done
Maybe now I’ve conquered all my adolescent fears
And I’ll do it better in my next thirty years

My next thirty years I’m gonna settle all the scores
Cry a little less, laugh a little more
Find a world of happiness without the hate and fear
Figure out just what I’m doing here
In my next thirty years

Oh my next thirty years, I’m gonna watch my weight
Eat a few more salads and not stay up so late
Drink a little lemonade and not so many beers
Maybe I’ll remember my next thirty years

My next thirty years will be the best years of my life
Raise a little family and hang out with my wife
Spend precious moments with the ones that I hold dear
Make up for lost time here,
In my next thirty years In my next thirty years

In honor of... me...and my 30th birthday, let's have a fun giveaway. I'm going to give one lucky person a one year subscription to my favorite magazine, Real Simple. To enter, leave a comment on this post with some good advice on getting older. Contest ends midnight central time, and I will post the winner on Saturday morning. Good luck everyone!

Wednesday, November 25, 2009

Chicken-Orzo Soup


Until this recipe, I haven't been able to convince Jim that soup can be served as dinner. He's not a soup man - but I'm totally a soup woman. I love soup. On this particular week night, I was tired...no, I was exhausted and very hungry. I wanted to try a cooking light recipe, and chicken noodle soup sounded like a healing meal for my tired and exhausted body. When I found this recipe for Chicken-Orzo Soup I thought it could easily be adaptable to what I had in my fridge. Yes, this recipe turned out to be great and it used up odds and ends that I needed to use up before they went bad. And Jim? He's now converted.

I used whole wheat orzo pasta in my Orzo Chicken Soup. 1/2 cup goes a long way.


I brought 1 3/4 cups chicken broth to a boil in a medium saucepan, then added 1/2 cup whole wheat orzo and cooked for about 10 minutes. Recipe says to drain the chicken broth, I chose not to, it's a free country.

In a skillet over medium heat I added a tablespoon of olive oil, swirl to coat. Then I chopped up a handful of baby carrots, I didn't have celery (which would have been great), but I added green bell pepper, a white onion and a teaspoon of minced garlic. Cook for three minutes, stirring constantly to soften all the vegetables.


Next I took two boneless skinless chicken breasts and chopped into bite size pieces, and added to the skillet. Alternatively, you could purchase a fully cooked roasted chicken from the grocery store and pull it apart - or cook the chicken another way and then chop or shred into the soup.


Cook and stir for another three minutes.


I added a teaspoon of ground thyme and a teaspoon of celery salt. You could also add fresh parsley and a fresh sprig of thyme if you had it.


I transferred the vegetables to this saucepan and added 3 cups of chicken broth and a bay leaf. (If I would have started with a bigger pot, I wouldn't have had to dirty another pan.) Bring to a boil, then reduce heat and simmer for 10 minutes.


This is a great time to sneak in another vegetable that might go bad in my fridge - some green onions and ZUCCHINI! To "beef" it up a bit I also drained and added a can of Canellini Beans.


Discard the bay leaf, add the zucchini, beans and add a big handful of fresh baby spinach, a tablespoon of lemon juice and salt and pepper if you like - but I thought this soup had plenty of flavor as is.

Ladle into bowls and call it dinner.


Traditional chicken noodle soup has to be on everyones comfort-food list. Using orzo pasta makes a slight improvement over the original; you don't have to worry about long noodles falling off your spoon! With its absolutely classic flavors, this dish is great for a rainy day, a cold day, a sick day, or any day where you find yourself too tired to make anything else.


Don't forget, come back on Friday, November 27th to enter my giveaway.

Monday, November 23, 2009

Hummus with Roasted Garlic and Truffle Salt


Hummus, it has a strange name and I can see why some people would think this isn't very appealing. But when I explain that it is basically bean dip, my friends and family are more at ease. Hummus is a dip/spread that is made from chickpeas. In fact, hummus is the Arabic word for chickpea. You may notice that many hummus recipes call for garbanzo beans, not chickpeas. Don't worry, garbanzo is the Spanish translation of chickpea. They are called cece beans in Italy. So here is how I make fancy bean dip.

Start with a can of Garbanzo Beans.


And dump into your cuisinart blender.


This is my secret ingredient. Lots of people put garlic in their hummus, but I roast my garlic in the oven for an hour until the garlic is brown, soft and bursting out.

I started by squeezing a few cloves into the blender, but ended up using the entire head of garlic in this batch.

Another secret ingredient, very special... truffle salt.

A pinch each of crushed red pepper and black pepper (or to taste.) Add whatever ingredients you like or have on hand. Some types of hummus have a strong lemon flavor, some have an overwhelming garlic flavor, and some hummus has a spicy tone. When making your own hummus, you have to keep your own tastebuds in mind. If a recipe calls for a lot of tahini and you don't like tahini, scale down the amount or simply omit it. Pine nuts, roasted bell pepper, black bean, spinach, sun dried tomato, pumpkin or almond butter are all wonderful additions.

When you have your ingredients chosen and put in the cuisinart, grab a good olive oil.

With the motor running, start to drizzle the olive oil until you reach the right consistency. It will probably be 1/2 cup per can of garbanzo beans.

Because I like the flavor of sesame oil, I added about a tablespoon.

Process until you reach your desired smoothness. Everyone is different, I like mine pretty smooth.

For added flavor I chopped kalamata olives that had been marinated in herbs and cabernet.

Spread the hummus on a plate and top with the olives and a sprinkling of freshly ground pepper. Serve with pita chips, crackers or crudite. This keeps for a while in the fridge, so make a batch early, then store until guest arrive for Thanksgiving - this gives them a healthy snack until dinner is ready.
Heads up, there is a giveaway on Friday, November 27th.

Thursday, November 19, 2009

Apple Butter

Meet Apple Butter. So easy and delish! I bought too many apples on my last trip to the grocery store, and I’ve been out of town most of last week and leave again on Monday for a business trip. Instead of letting these fruits go to waste, I’m going to try my hand at apple butter. I have to admit, I’m not sure I’ve ever had apple butter, but type those two words into foodblogsearch.com and other bloggers talk about the stuff like it’s the healthy version of nutella. I had no idea until I started my research that apple butter has no butter in it actually, it’s used as butter and is sometimes as smooth as butter – if you make it that way, some people like theirs chunky. They are slathering it on English muffins, toast and even eating it right out of the jar. I trust these folks, they usually know what they are talking about. So here we go.
I have 4 medium granny smith apples, one small granny smith apple and a random pear. There was much discussion regarding we leave the peel on or take it off. Most recipes I came across used peeled and cored apples, but I like this one that suggest grating the peel first before coring the apple. And any recipe that suggest I use my micro zester wins my heart. I love this kitchen tool.
The first thing I do is rinse the fruit really well. Then ZEST away, right into my slow cooker. Yes, there are various methods to cook the apple butter, stove top, oven and microwave even, but I love to use my slowcooker – well, not this exact one per say, but I’ve registered for the mac daddy of all slow cookers online and I can’t wait to get it.
After the skin is zested I use my apple slicer to core and slice each fruit, then cut each slice in half again. Smaller pieces = faster cooking.

I'm not a fan of the peel on pears, so I peeled this first, then diced the pear into on einch squares.
Next add
1 T lemon juice
¼ cup brown sugar
1 packet sweetener or sugar to taste (truvia)
1 T ground cinnamon
1/4 teaspoon salt
You could also add:
1/4 teaspoon ground cloves
1/8 teaspoon ground mace
¼ cup apple cider
1 tablespoon brandy

Instead I added:
¼ t ground ginger (in place of the spices I didn’t have)
4 whole allspice, ground (in place of the spices I didn’t have)
¼ cup water (instead of apple cider which I didn’t have)

Give it a stir, add the lid and let it cook down for 5-10 hours (there was much discrepancy on how long this takes.) I go back and check every hour and give it a stir so it cooks evenly. I cooked mine for 6 hours on low, covered, stirring every hour. Then I used my hand blender and mixed it all up, left the lid off and let it cook for another hour.

Pure and simple. Apple Butter.

Monday, November 16, 2009

Vegetable and Seafood Risotto


Risotto is such a wonderful and comforting meal. I learned how to make this Italian dish from the cookbook, Risotto, by Ursula Ferrigno.

I find this dish so versatile - perfect for a relaxed weekday meals or elegant dinner parties. Risotto is made with short-grain rice, which absorbs a large amount of liquid without the grains losing their bite. There are three main varieties: arborio, carnaroli, and vialone nano. Each one brings a slightly different texture to the dish. Arboria, perhaps the best-known, produces a dense risotto that can become too stiff if overcooked. Carnaroli is the most expensive, but its tender yet firm grain is ideal for risotto. It is also the least likely to overcook. Vialone nano is favored by Venetian cooks. (This is Ursula's preferred rice) It gives a creamy, voluptuous risotto.

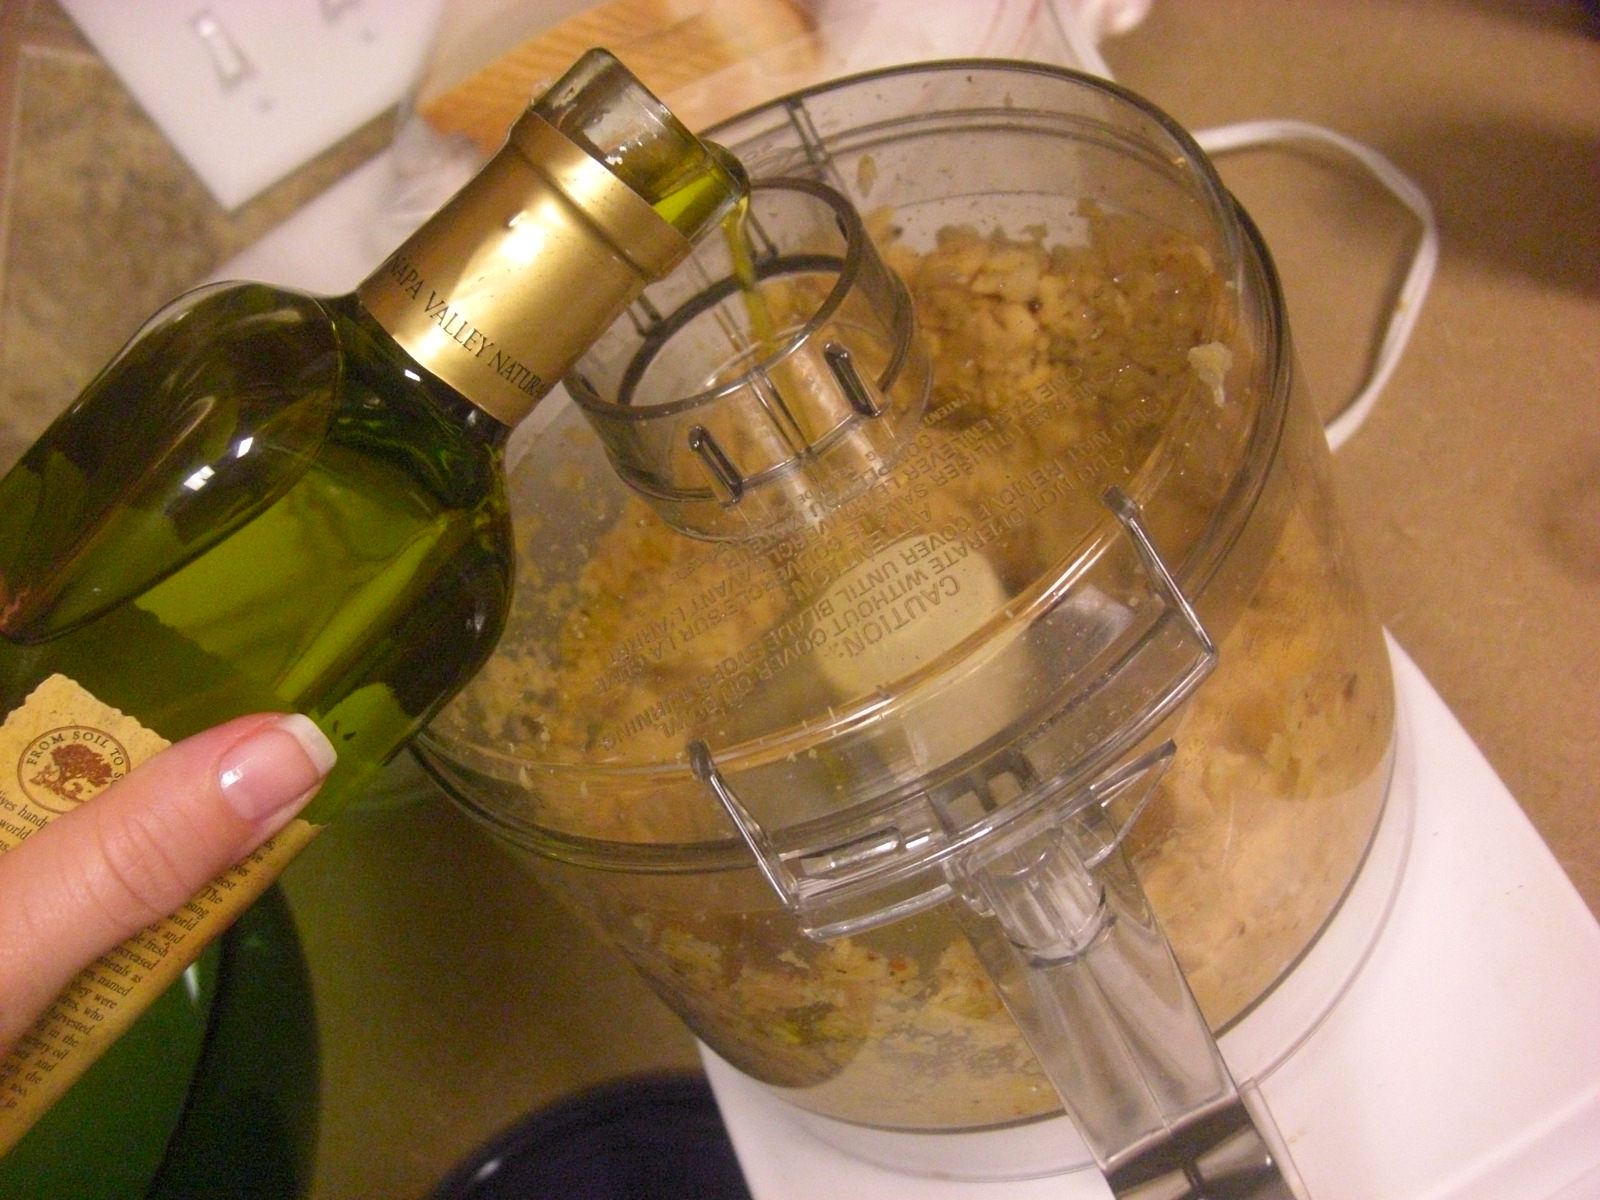
Perfect risotto is easy to achieve. All you need is a good-quality risotto rice, homemade stock (preferred, but I usually use a low sodium fat free canned chicken stock), a wide shallow pan, and 18-20 minutes of constant stirring while the rice cooks. There are no short cuts, unfortunately, but SO WORTH IT!

Good risotto is made in stages. The key is to add hot, flavorful stock - a ladleful at a time - to the rice in the pan, stirring constantly until all the liquid has been absorbed and the rice is al dente. It should never be dry or sticky, but have a "wave-like" (all'onda) consistency. A risotto should stand for 2 minutes before serving, then be spooned into warmed bowls, not plates, and served with a fork, never a spoon. The moral of the story is that risotto is very yummy and surprisingly easy.

There are four steps.

  1. Lightly cook shallots (or onion and garlic) in oil and butter until softened.
  2. Add rice and stir until well coated and glistening.
  3. Add stock, a ladleful at a time, and simmer, stirring until absorbed before adding more. Repeat until all the liquid has been absorbed and the rice is tender but still firm.
  4. Mix in flavorings, such as vegetables, herbs, and cheese.
The picture above is a risotto I made full of good for you vegetables that I found in the fridge. I added chopped carrots in step one along with the onions because they are a dense veggie that needed to simmer and soften. I also added two big handfuls of edemame. I was actually munching on them while I cooked and decided to throw them into the risotto at the end. My favorite addition is the spinach. I used fresh baby spinach and stirred them in with the last ladle of chicken stock and it wilted perfectly in the hot risotto.

Here is a seafood risotto that I found on the cooking light web site. Jim absolutely LOVED this recipe and told me it was in his top 10. (Hint, they are all in his top ten.)

With this recipe from cooking light, there is supposed to be two healthful portions but I found this made two HUGE portions and more realistically enough for four people. I completed the meal with a salad, asparagus and crisp white wine.


Ingredients
2 cups fat-free, less-sodium chicken broth
1 (8-ounce) bottle clam juice (I only used about 3/4 of the bottle)
2 teaspoons butter
1/4 cup chopped shallots
1/2 cup uncooked Arborio rice
1/8 teaspoon saffron threads, crushed (omitted)
1 tablespoon fresh lemon juice
1/2 cup grape tomatoes, halved
4 ounces medium shrimp, peeled and deveined
4 ounces bay scallops
2 tablespoons whipping cream (omitted)
Chopped fresh parsley (omitted)


Preparation
1. Bring broth and clam juice to a simmer in a medium saucepan (do not boil). Keep warm over low heat.


2. Melt butter in a large saucepan over medium heat. Add shallots to pan; cook 2 minutes or until tender, stirring frequently. Add rice to pan; cook 30 seconds, stirring constantly. Add lemon juice to pan; cook 15 seconds, stirring constantly. Stir in 1/2 cup hot broth mixture; cook 2 minutes or until the liquid is nearly absorbed, stirring constantly. Add remaining broth mixture, 1/2 cup at a time, stirring constantly until each portion of broth is absorbed before adding the next.

3. Stir in tomatoes; cook for 1 minute. Stir in shrimp; cook for 4 minutes or until shrimp is done, stirring occasionally. Remove from heat; stir in cream. Sprinkle with parsley, if desired.


I cooked the scallops separately. First I rinsed and dried these, sprinkled with salt, pepper and then dusted with whole wheat flour. (flour so they form a crust when I sear them.)

I heated just a little bit of olive oil over medium high heat, then put the scallops in - and let them sear. Don't move them around, just let them get a nice brown color on one side.

Then flip and let them sear on the other side until a nice brown crisp skin forms. Dont' walk away, this happens fast.

This was a fabulous meal! Top 10 in fact...