Showing posts with label eggs. Show all posts

Sunday, January 21, 2018

Shakshuka


Shakshuka? This is an absolutely delicious meal of eggs poached in a sauce of tomatoes, peppers, and onions, with spices like cumin and paprika. On Sunday I had a hankering for this warming and comforting meal which originated in Northern Africa and appears on menus across the US as a brunch item. If you are looking for something that comes together quickly, under 30 minutes, you should try this. Shakshuka can be eaten for breakfast, brunch, lunch or dinner, it truly is that amenable of a meal.

Friday, October 2, 2015

Menu of the Week

Our family enjoyed some new recipes this week. A few of these were requested to be "regulars" from now on. Keep reading to find out which we loved the most... Company Pot Roast from Ina Garten, Smoked Samon Tartines and Crab Cakes, Spaghetti Carbonara, Crawfish Pie, Mini Pizza's and Salisbury Meatballs over Egg Noodles.

Sunday, November 6, 2011

Mint Love Letters with Spicy Lamb Sausage

A few years ago Jim and I took a trip to New York and chose to spend one special dinner at Mario Batali's highly acclaimed restaurant, BabboThis may by my favorite memory from the whole trip.

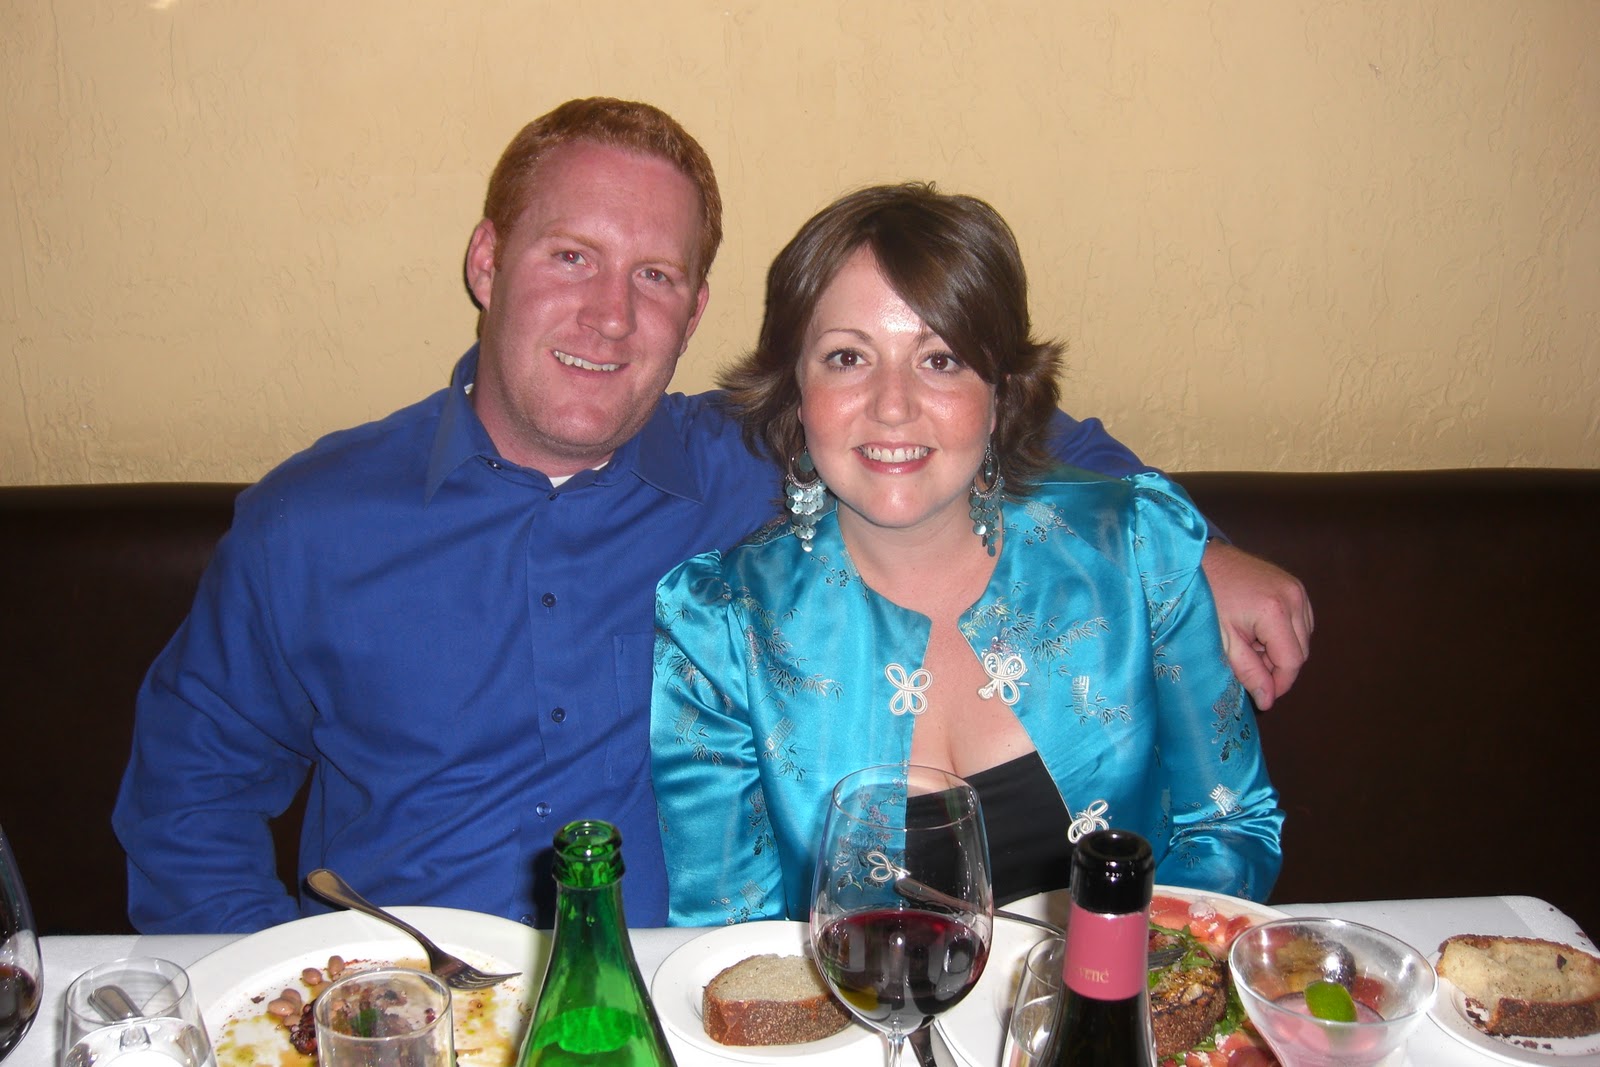
The restaurant is quaint and service is helpful and friendly. We dined side by side in a romantic atmosphere and just enjoyed each others company and the wonderful food. Oh the food. The food and the wine. The wine and the food. It can make me cry just thinking about how beautiful everything was.

My favorite course by far were these Mint Love Letters with Spicy Lamb Sausage, a signature dish of Mario Batali's. The homemade sheets of pasta were so fresh and dainty. Inside the ravioli was the most unusual combination of mint, sweet peas and salty parmesan. The ravioli's were tossed in a spicy lamb sausage tomato sauce. These are explosive little flavor packages. Notice, you get three for $20.

When I ran across the recipe on Food & Wine, I knew that I just had to make these for Jim so we could recreate that very special evening in New York. The sauce came out perfectly! The first batch of ravioli, although it tasted spot on, were not very pretty. My second batch had a much better presentation - just wait until my next blog post where I show you what I can do with a little practice!

Keep reading for the step by step recipe with pictures...

Thursday, September 8, 2011

Perfect Hollandaise Sauce

Over Labor Day weekend there was an Eggs Benedict-off. That's where my brother Brad and I went head to head in the kitchen and each prepared our "famous" Eggs Benedict. Although our family and friends were too polite to name a clear winner, I can truthfully say that this homemade hollandaise sauce won me the championship trophy. So, there wasn't a trophy...but I imagine if there was it would be a bronze whisk covered in this homemade hollandaise sauce.

There are many many variations on hollandaise, this one I find to be the easiest most fool proof version out there. The proportions below will be enough for 4-6 eggs benedict servings.

To read my poached egg tutorial, go here.

Start by melting 4 tablespoons of butter in a small saucepan over low heat. It's okay if it bubbles, but you do not want the butter to brown, just melt it and keep it warm.

Sunday, August 28, 2011

How to Poach an Egg


I don't know about you, but when we eat out for breakfast I almost always order Eggs Benedict if I see it on the menu. To me, it's a gourmet item and I love to taste the many variations on this classic dish. I've had it topped with seafood specialties like crab and lobster, or the traditional canadian bacon swapped with other proteins like deli ham or bacon. My favorite spin is the Eggs Benedict with a Mexican flair - think spicy hatch chile strips or poblano Hollandaise.


When I made Eggs Benedict for the first time it took me a couple tries to get the eggs poached correctly - so my advice to you would be to start with a dozen. Maybe you have one of those fancy egg poaching machines or have a do-hickey that makes the task foolproof. I didn't use anything fancy, here is what I did...

Thursday, August 11, 2011

Steak and Egg Salad

Steak and Eggs don't have to be reserved just for breakfast anymore. This spin on the standard AM food came together quickly for a deliciously fancy lunch salad.

I bought 3.5 ounces of the best filet mignon at Whole Foods and pulled it out of the fridge to bring the meat to room temperature for about 30 minutes. I seasoned it with only a sprinkle of salt, and then seared in a medium-hot skillet for two minutes on each side. This was a small piece of meat, so it didn't take long to hit that perfect medium-rare temperature. When the meat was cooked (only 4 minutes) I put it on a plate to sit while I prepared the rest of the salad.


There were just a few elements to this salad, but each addition was chosen carefully - like the pieces of Humboldt Fog. It has got to be my favorite cheese - creamy and slightly tangy. Believe it or not, I was actually asked today if Jim and I have a cheese. I had to ask for the question to be repeated.... and my co-worker restated that some people have a song and wanted to know if we have a cheese. Well, the answer is no. Jim and I don't have a cheese, and I personally think that would be weird if we did.

The mixed greens are Organic Girl baby green romaine lettuce, baby red romaine lettuce, lolla rosa, parsley, cilantro, baby greenleaf lettuce. I love this herb mix because it is delicious on it's own with just a toss in olive oil.

That brings me to my new favorite olive oil that I am so excited to discover at my Farmers Market: Texas Hill Country Olive Oil Company. I tried the Texas Hill Country Miller's Blend on a whim. It's made from Mission and Arbequina olives and has a grassy and buttery flavor with a nutty finish. This is 100% organically grown and 100% natural, cold pressed & unfiltered, 100% hand harvested. And you can taste the quality. I don't have to have anything else on my salad greens but this olive oil.

The piece de resistance, in my opinion, is the perfectly poached egg on top. When cut open, it's adds a richness to the already decadent filet mignon and a creaminess to the light olive oil on the salad greens.

My current obsession with poached eggs started two weeks ago when Jim came home from a business trip and I wanted to make a special breakfast for him Saturday morning. Learning how to poach an egg for the first time was a frustrating task. I went through nearly a dozen eggs before I got two that I was proud of. Now that I feel like I have the hang of it, I'm just LOOKING for reason to poach eggs. I now how a step by step post on how to poach an egg.  For now, I will leave you with a finished shot of my first Eggs Benedict made with strips of baked bacon and a homemade hollandaise.


Thursday, May 19, 2011

Easy Breakfast Muffins


Last month I had a contest on Home with Mandy where I gave away a few dozen cake balls. In order to ship them and ensure they made it in one piece, I packaged the cake balls in egg cartons...then I was left with a bunch of eggs in my fridge. That's when I started looking for recipes calling for large amounts of eggs, hence the recent Creme Brulee post.


I found these super easy breakfast muffins are perfect to make on the weekend and then eat them one by one during the week. You can pop them in the microwave for 45 seconds before sprinting out the door because you are late for work… again. Oh, that’s just me?


I’m not the sharpest crayon in the box in the AM. It takes me a long time to get moving and time just gets away from me. Eating a good breakfast is the absolute last thing on my mind. Jim has tried really hard to get me to eat breakfast and stocks the fridge each week with something quick and easy, like greek yogurt, cut up fruit or a protein shake. He makes the best protein shakes with a frozen banana, protein powder and a squirt of honey for sweetness.

Friday, August 27, 2010

Crustless Cheesy Quiche


I am thrilled to share this recipe with you today because it is my new go-to dish when I need to provide food for a brunch or special event like a baby shower. Calling this a "Quiche" is very misleading because the addition of cottage cheese and baking powder and magic make this a light and airy but full of flavor dish. Inspiration for this recipe was found at SimplyRecipes and I changed it up a bit for our personal tastes.

Slice one onion and saute over medium heat (low and slow) until caramelizing happens. I absolutely love caramelized onions. Start this first and then let it cook down, stirring every so often as you prepare the rest of the quiche, adding olive oil as needed to keep it fro burning. During the last minute of cooking, I added one minced garlic clove, cook for one minute then take the pan off the stove to cool.

Next I took the last three pieces of bacon from my fridge and baked them in the oven on a wire rack set on a jelly roll pan at 350 degrees for 25 minutes. I like cooking bacon in the oven because everything crisps up and you aren't left with chewy fat. I let this crisp really well and then crumbled it for the quiche later.

Now we need to make a roux. "Roux" is the French word for "brown," and brown describes a roux in color. A roux is a base for gravies, soups, etouffee, gumbo and many other Cajun and French dishes. It serves as a thickener, binder and flavoring. Any cook who has made gravy from pan drippings, flour and milk has made a sort of roux. The principles are very similar. With a roux, however, only flour and fat are used.

1st rule of roux is patience. It takes time to reach the desired stage of brown and not burned and you should be diligent to stir the roux constantly. Cooking slowly and evenly is a must to prevent burning.
2nd rule of roux is to use a heavy pot, a whisk and a wooden spoon. The pot should be heavy and not have any hot spots. A dutch oven or iron skillet works best. A wooden spoon is great to use because it does not impart a metallic flavor to the roux.

3rd rule of roux is we don’t talk about how difficult roux can be – we just put our big girl panties on and make roux.
Melt the butter in a medium saucepan on medium heat. Using a whisk, stir in flour; cook, stirring until bubbly. Gradually add milk and whisk to make sure there are no lumps. You can switch to a wooden spoon now and cook over medium heat, stirring occasionally until sauce thickens. Remove from heat; set aside to cool, about 15-20 minutes.
This couldn't be easier to whip up - and customize. You know how I love to have recipes on hand that use up whatever you have in the fridge and pantry. Make this your own!

Next, combine cottage cheese, baking powder, salt and Dijon mustard and 1/2 t dry mustard in a mixing bowl. Set aside.
You could mix this by hand, but why? If you have a kitchen aid mixer, you are a lucky one - use it! In the bowl of your electric mixer, beat eggs and add softened cream cheese.
Add the roux once it has cooled and mix well, but don't over beat. Fold in the shredded cheese. You can use 6 ounces shredded Swiss cheese and 3 T grated Parmesan cheese - or add what you have on hand. I used shredded cheddar and Parmesan.
Oh how I love this porcelain quiche dish with fluted sides, a wedding gift from my friend Nesi. It's perfect for serving this cheesy crustless quiche.  You can use a 10" pie plate too, just butter the sides and bottom of your baking dish well.

You can add the ingredients however you like, I added half of the batter, then sprinkled on all of the caramelized onions.
Then pour in the remaining batter and smooth the surface.

I had these beautiful tomatoes from the farmers market, and sliced them pretty thick, and pressed down onto the top of my quiche.

Meat! Where is the meat? After crisping up some bacon in the oven I let it cool and then crumbled it on top of the quiche. This can absolutely be left out, but not in my house.
Finally I topped everything off with a sprinkle of shredded cheddar. Cover with foil and bake at 350 for 45 minutes or until puffy and lightly browned.
I pulled the foil back and put the quiche back in the oven for 5 more minutes so everything was nice and brown on top.

Let this rest for 10-15 minutes before serving. Jim and I actually had this for dinner, and then ate leftovers for breakfast the next two days. It was great warm out of the oven, we both had two slices each. And I should note it kept very well in the fridge also, tasted great reheated. I think you should make this for a Saturday morning Breakfast for the family - I bet everyone will love it. Enjoy!

Tuesday, January 12, 2010

Christmas 2009 Recap and my Dad's French Toast

We really had a great Christmas in Austin and in Houston.

On Christmas day, we opened gifts together as a family. Here is my dad opening up one of five watches. He got one for every day of the week.

My beautiful mother opening up the new Tim McGraw CD. That reminds me, I need to ask for a copy of it.

Brad and Jim had to open these gifts together.

Jim is trying to figure out what it is.

Oh! He gets it. It's a counter size kegerator that keeps a pony keg cold and you serve beer through a tap.

Brad is still trying to figure out what it is - or reading the details on the box.

For lunch we went to my mom's parents' home, and you guessed it...she made Grandmamas Stuffing. It's my favorite thing on the Christmas table!

My Pa-Pa.

My Uncle Jeff. (He's single!)

My Dad's mom, Grammy.

My mom made her Deviled Eggs.

I made a creamed spinach dish.

There was also this beautiful fruit salad.

All served on my grandmothers Christmas plates which I really love.

My grandmother's mantle looked so festive. She made us each a stocking and stuffed them with Starbucks gift cards. Perfect for my "Soy-Pumpkin-Spice-Latte-with-Whip" obsession.

The smoked turkey made by my Uncle Johnny, a shining star on the table this Christmas.

Honey baked ham too.

Drum roll please. My favorite - Grandmothers Stuffing! I made this last year, see her recipe here.

Here are my babies after a bath. They took off out of the bathroom and ran around outside in the sunshine. Madeline looks like a poodle model here as she swings her wet ear around to look at the camera.

Cole just wants to play with his new toy, a stuffed flea.

That looks just kills me.
Now, onto my Dad's French Toast. I always ask for it when I'm in town. I grabbed my camera and shot away as he made us all breakfast.

He makes his own cinnamon sugar mixture first.
He uses white bread, a couple of eggs, milk, butter, pam and his cinnamon sugar mixture.

In a wide bowl my dad beats about three eggs with a cup of milk. There is a perfect timing to the way he dunks the bread. The first slice of bread goes in, then it gets flipped right away, then the second slices goes and gets flipped. I call it the ballet of the home slice.

Next, he sprays a non-stick pan that is heated to medium-high with some pam, then places the slices in.

Just after they begin to brown, he flips them.

Mmmm... this smells so good, reminds me of growing up in their house. I love his French Toast.

See, I would never have done this...but my dad, the French Toast expert, uses his spatula to press the slices.

And he repeats the process, two at a time until everyone has a plate.

When they come out of the pan and onto the plate, each person gets to sprinkle the toast with cinnamon and sugar and top with a pat of butter.

Serve with syrup and dig in.
-----------------------------------
Now! Just to mix you up a little bit, I have another French Toast recipe that was given to me by a friend in San Antonio. He swears by this recipe, and although I haven't tried it yet I wanted to share it with you. Here are the ingredients and method, in Nestor's own words:
  • Texas Toast sandwich bread or any other thick cut (tip: try to buy it some days or a week prior)
  • 3-4 eggs (tip: pour on a rectangle Ziploc container-the ones used by most companies for ham.)
  • Salt-to taste... less than a 1/2 teaspoon for sure-to taste
  • Whole or 2% fresh milk (tip: pour enough milk to make the egg mix look a "light yellow" color. all depends on how much of egg taste you like on the toast)
  • 1-1 1/2 teaspoon of sugar-to taste (white or brown, I use white)
  • Cinnamon-use shaker and put as much as you want up to your personal taste, you can always add directly to the bread loaf when cooking
  • Vanilla-if using pure vanilla 2-3 drops should be enough, if using imitation use close to a teaspoon

Ok, mix should be ready.... taste it and make adjustments as necessary

Set your range to mid-low temp. (I set it up at 3) You want enough heat so that when you put the toast you can hear a low sizzling but do not over heat because it will burn the outside but it will not cook the inside. Also, I use PAM... spray and dry up excess with a paper towel.

Now, cut the bread slice in half in order to create "triangles" and cut some fresh strawberries.

Use a semi-flat plate in order to pour the mix just enough for two triangles-one at a time(do not dip in mix bowl as bread will get too soggy (mojado).

Ready!!!!

Take a slice and put into your semi-flat plate (do not let sit-just turn fairly quick to each side including the new third edge).

Put on pan (salten) and let it cook for approximately 1 minute per side until toasted or golden brown.

After both side have been cooked, stand up slice in order to cook the new edge.

Take out and let it site for a minute, do not serve right away.

Add butter to taste, add domino (white powder) sugar, add syrup, and don't forget the strawberries!

-----------------------------------

Thanks Nestor!

I hope everyone else had a wonderful holiday, a merry christmas and a happy new year.